How to choose and photograph the photos for your video
Four steps, in the order you will actually do them. Most of this is about the twenty minutes before you upload anything — that is where a good film is decided, not in the editing.
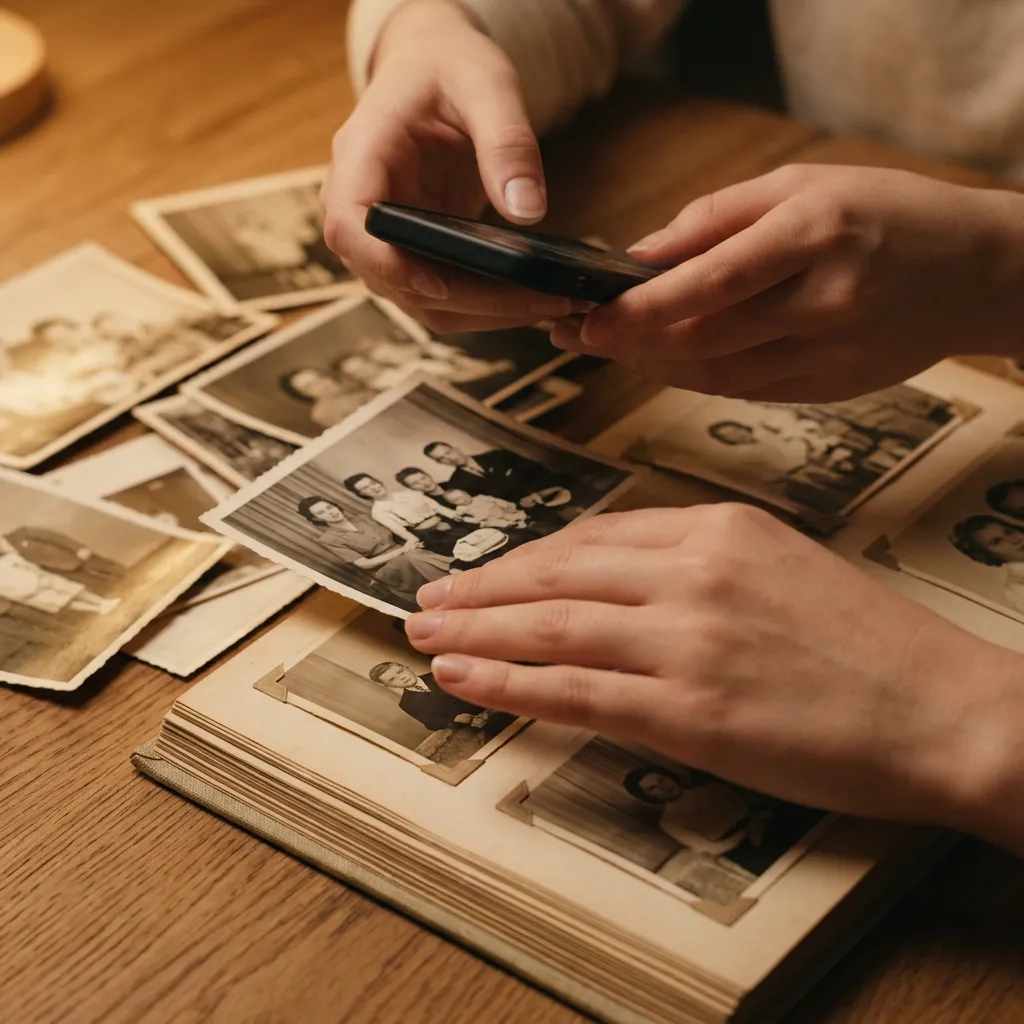
Photograph the prints
If the photographs were never digital, your phone is enough. The only thing that ruins a phone copy is light, and both problems are easy to avoid.
- Hold the phone straight on, parallel to the page — not leaning over it at an angle.
- Sit near a window in daylight, with no direct sun falling on the page.
- Prefer landscape (horizontal) photographs where you have the choice — they need no filling at the edges and sit better on every screen.
- Do not use the flash. It burns a white hotspot into the middle and washes out the faces.
- Do not shoot from above under a ceiling light — that is what causes glare on glossy prints.
A phone photograph of a print is completely normal here. Most people never scan anything, and the restoration is built expecting exactly that.
Choose which ones go in
More photographs is not automatically better. What makes a film feel like a life is range — different ages, different people, different rooms.
- Pick your clearest copies. Faded colour, small tears and light scratches are repaired; heavy damage and extreme blur are not worth a slot.
- Span the years: baby, child, teenager, adult. The wider the span, the more the film feels like a whole life rather than a period.
- Alternate solo portraits with group photographs. All solo reads like a gallery; all group and you never see the face clearly.
- Avoid collages and pages containing several small photographs — the animation cannot tell which face it is meant to follow.
- Do not include near-duplicates from the same afternoon. They take a slot each and add nothing to the story.
The quality checker flags anything likely to cause trouble while you upload, so you get a second opinion before you pay for a slot.
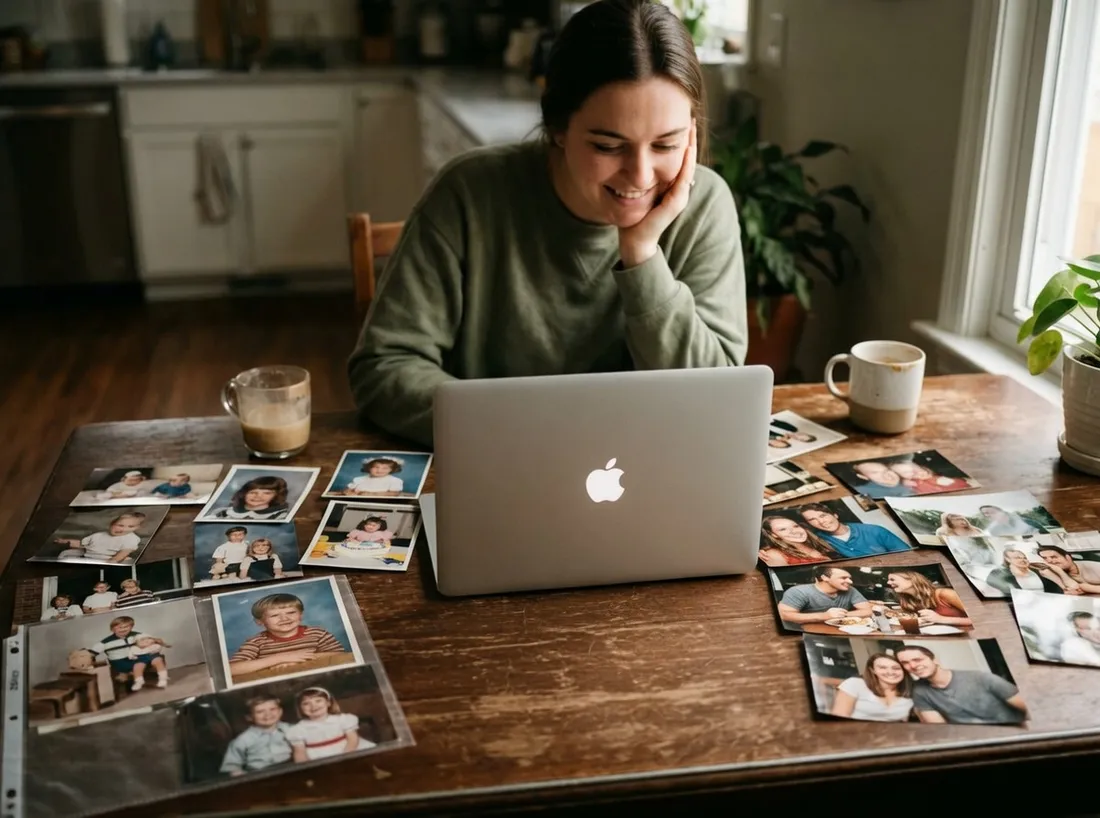
Put them in order
Order is the only editorial decision that is entirely yours, and it is the one that decides how the film feels.
- Chronological is the safe choice and usually the right one — a life told forwards.
- Drag any photograph to any position after uploading. Nothing is locked once it is in.
- Put the strongest photograph last. It is the frame people are left holding when the music stops.
Then choose music — a track from the library or a song of your own — and write the dedication that opens the film. That is the last thing asked of you.
Open your email
Thirty to ninety minutes later, depending on how many photographs you sent.
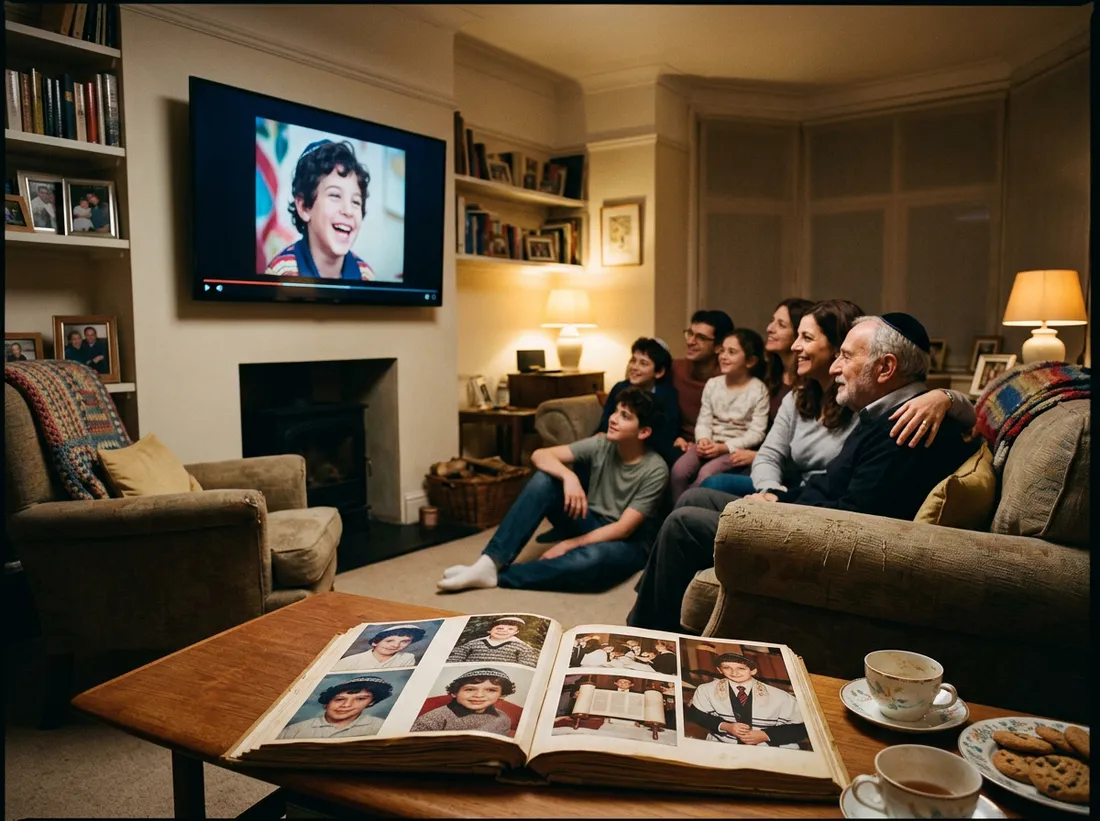
- It arrives as a normal video file that plays on a phone, a laptop or a television.
- Send it on to family who could not be there. There is nothing for them to install.
If a single photograph did not come out the way you hoped, that one clip can be regenerated — the rest of the film stays as it is.
That is the whole method.
Twenty minutes with the albums, a few minutes uploading, and the film comes back the same evening.
Create my video →